If you have already signed up and created your Wallery account, upgrading from a Free plan to a paid one is likely the top item on your agenda.
Follow these steps to quickly upgrade to a paid plan:
Step 1: Click on the down-pointing arrow next to your account name on the left side of your screen.
Step 2: Click on “Account info” in the drop down menu.
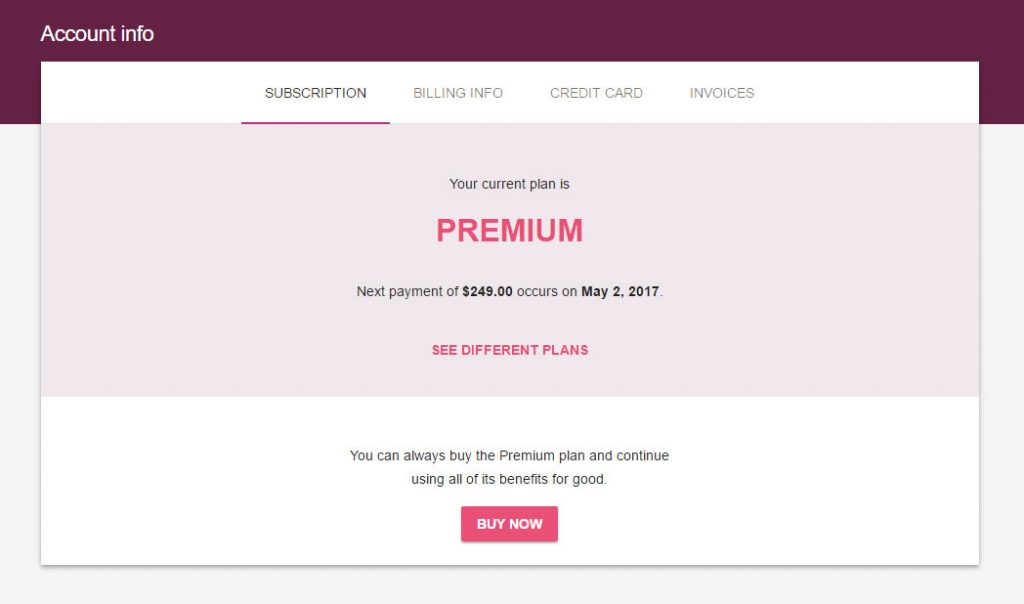
step 3: Click on the “Buy now” button
Step 4: Fill in your credit card info, then click on the “Confirm” button.
Step 5: Fill in your billing info. If you are purchasing Wallery as a private user, you will use your own name and address for the invoice, but if you’re purchasing Wallery as a business user, this is where you provide your business name, address, and VAT number. If all looks fine, proceed through checkout by clicking “Next”, then “Buy”!