A “hub” is a place where all social media posts including a keyword or a hashtag you’ve chosen are going to be aggregated and displayed for you to see and moderate. Hubs can be embedded into your website – making them a social media hub, or displayed on a wall during an event, for instance, at which point they become a social media wall.
In this article, you will learn how to create, design and display your hubs as social media walls and social media hubs!
Creating your hub
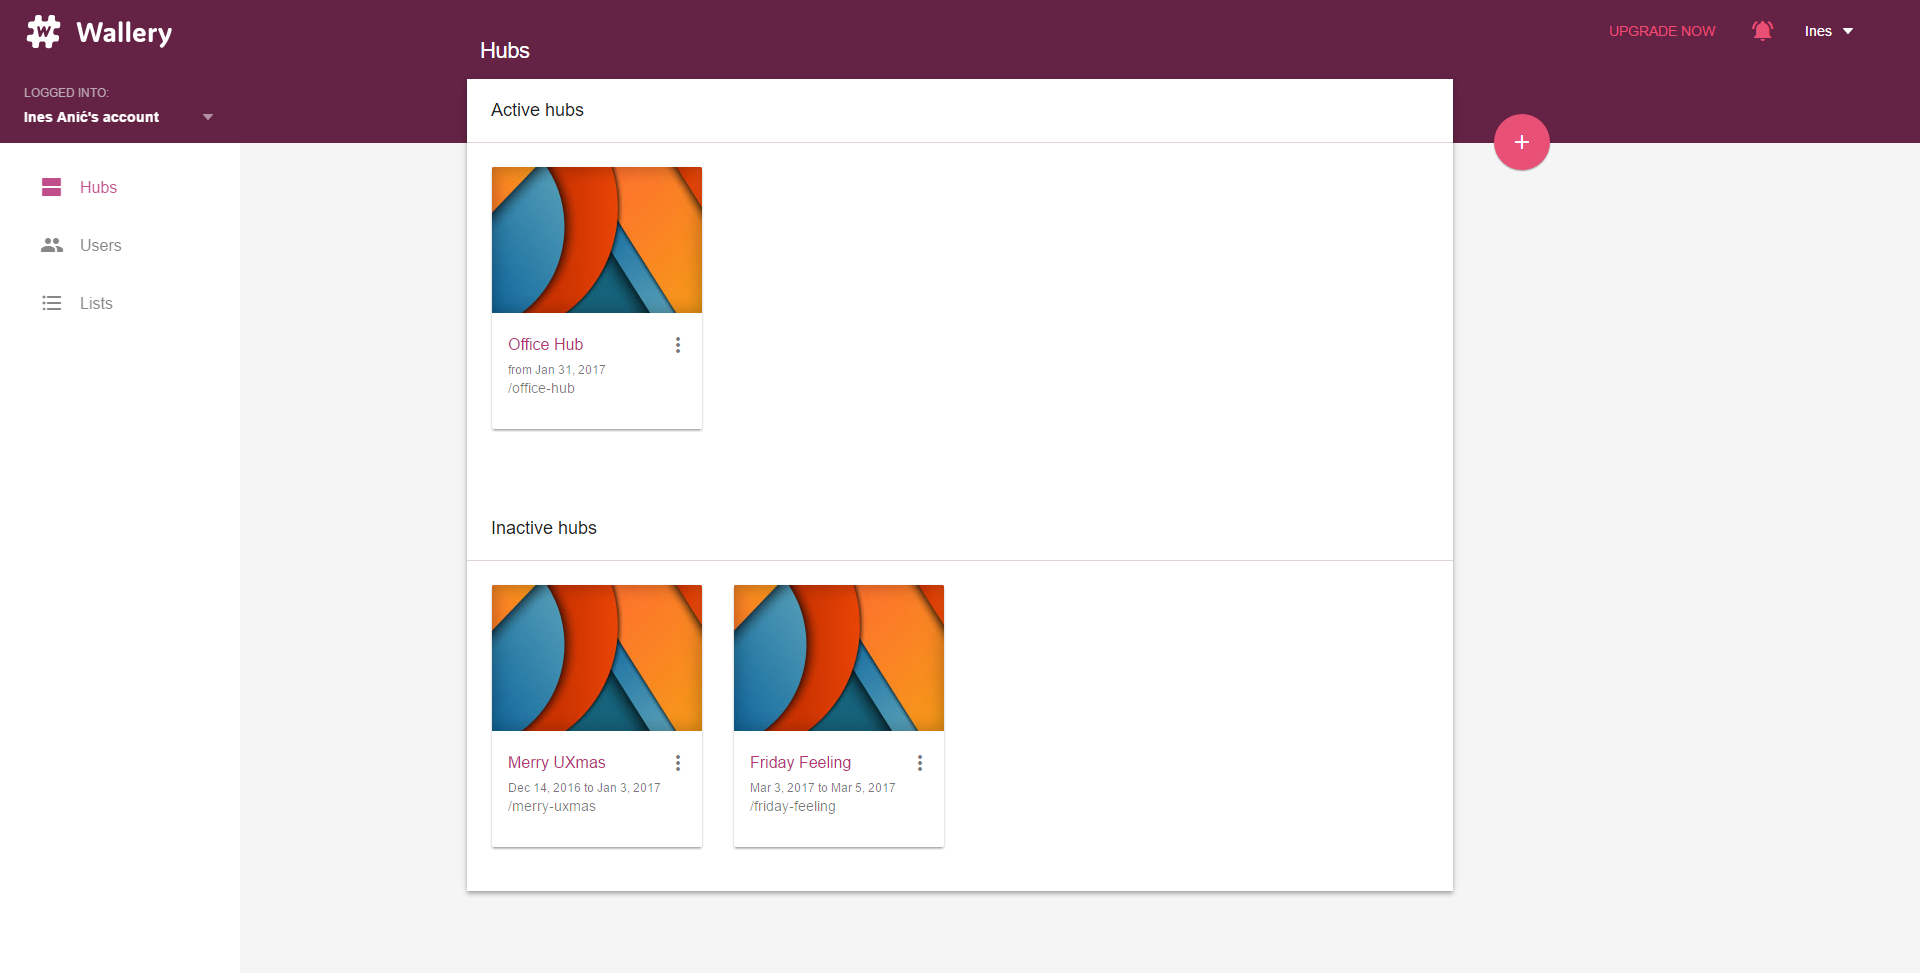
Step 1: In your Wallery Dashboard, click on the “+” button positioned center-right on your screen. This will bring up a pop-up which will look like this:
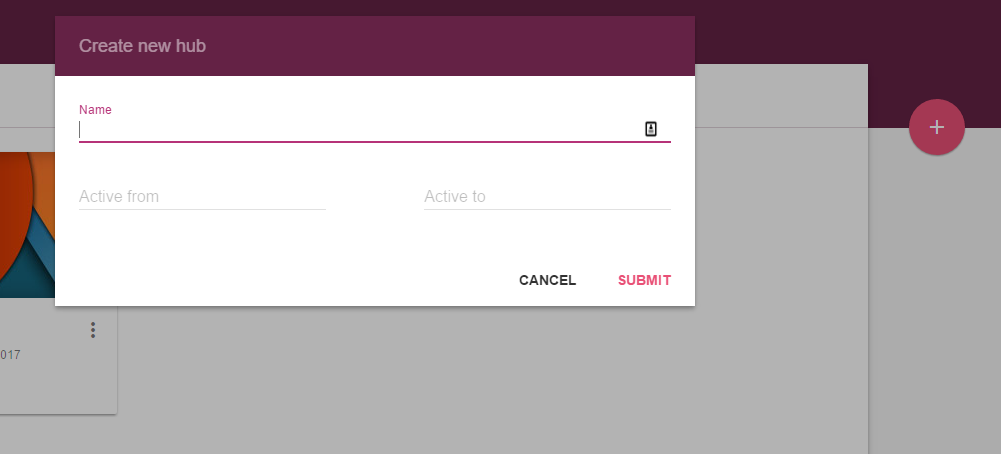
Step 2: Choose a name for your social media wall or a hub. The name you choose will not be displayed on the hub you are designing, but it will be a part of the url of the moderation link, so keep that in mind.
Step 3: Set up a start date for your hub. Do you want your hub to be active starting right now? Maybe you are setting it up for an event starting a week from now? Make sure you pick the right start date for your hub.
Step 4: Choose an end date for your hub. Your hub can be active for just a single day or stay active throughout the year!
Pro tip: You can skip steps 3 and 4 and choose to create a hub with no set dates. If you do this, your hub will be activated immediately – and go on indefinitely! You can always go back and change the dates however you see fit.
Step 5: Click on the “Submit” button.
Step 6: Choose a layout for your hub by clicking on any of the preview layouts.
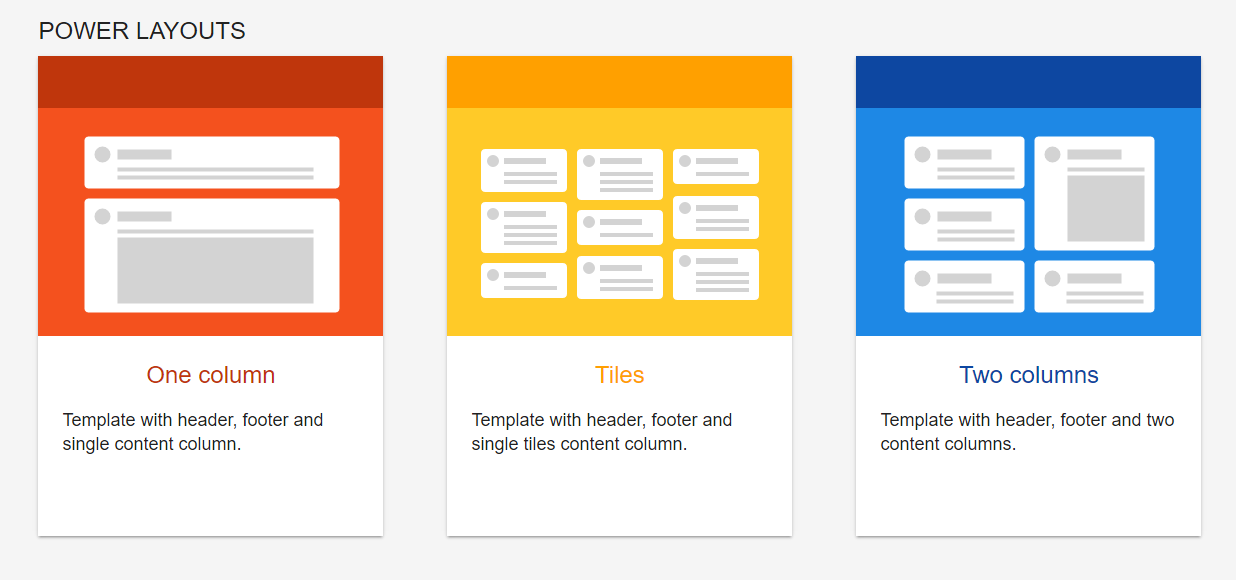
Pro tip: Simple Layouts are available to all Wallery users free of charge. As the name suggests, they are simple layouts that come with limited customization options. Simple Layouts allow you to display only tweets, while Power Layouts give you more customization options, as well as allow for both Twitter and Instagram posts to be displayed on your wall or hub.
To learn more about our various wall layouts, click here.
Setting up hub details
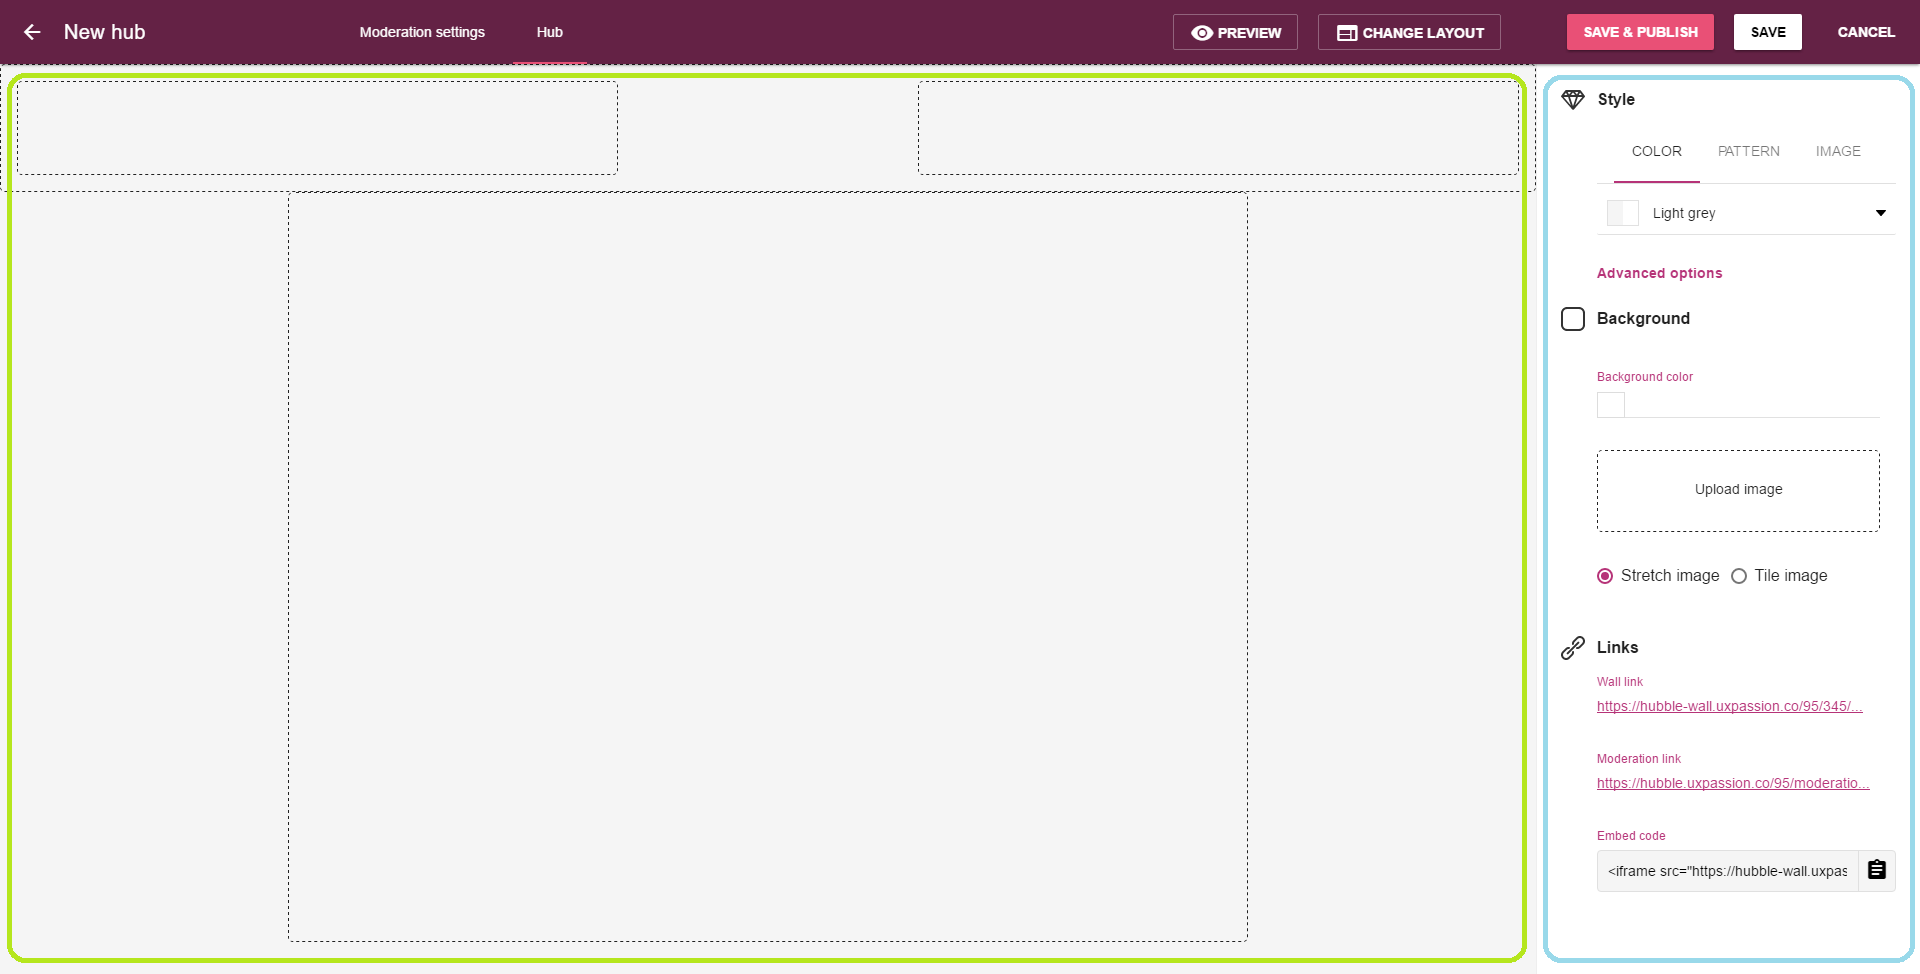
Say hello to Wallery Designer!
Wallery Designer is where you will be designing the look of your social media wall or hub. It consists of a couple of components, of which the most prominent ones are the design preview area, taking up the center part of the screen, and the sidebar which you will be using to style your hub.
For this article, we will be working with one of our customer’s favorite layouts for social media walls and hubs, Tiles.
Choosing the background image for your hub
You can upload your own images and use them as backgrounds for your social media walls or hubs or use one of the numerous colors, patterns and images we’ve incorporated into Wallery Designer to make your hub creating experience quick and easy!
Uploading your own image as the background image for your hub
Step 1: In Wallery Designer, click on “Upload image”.
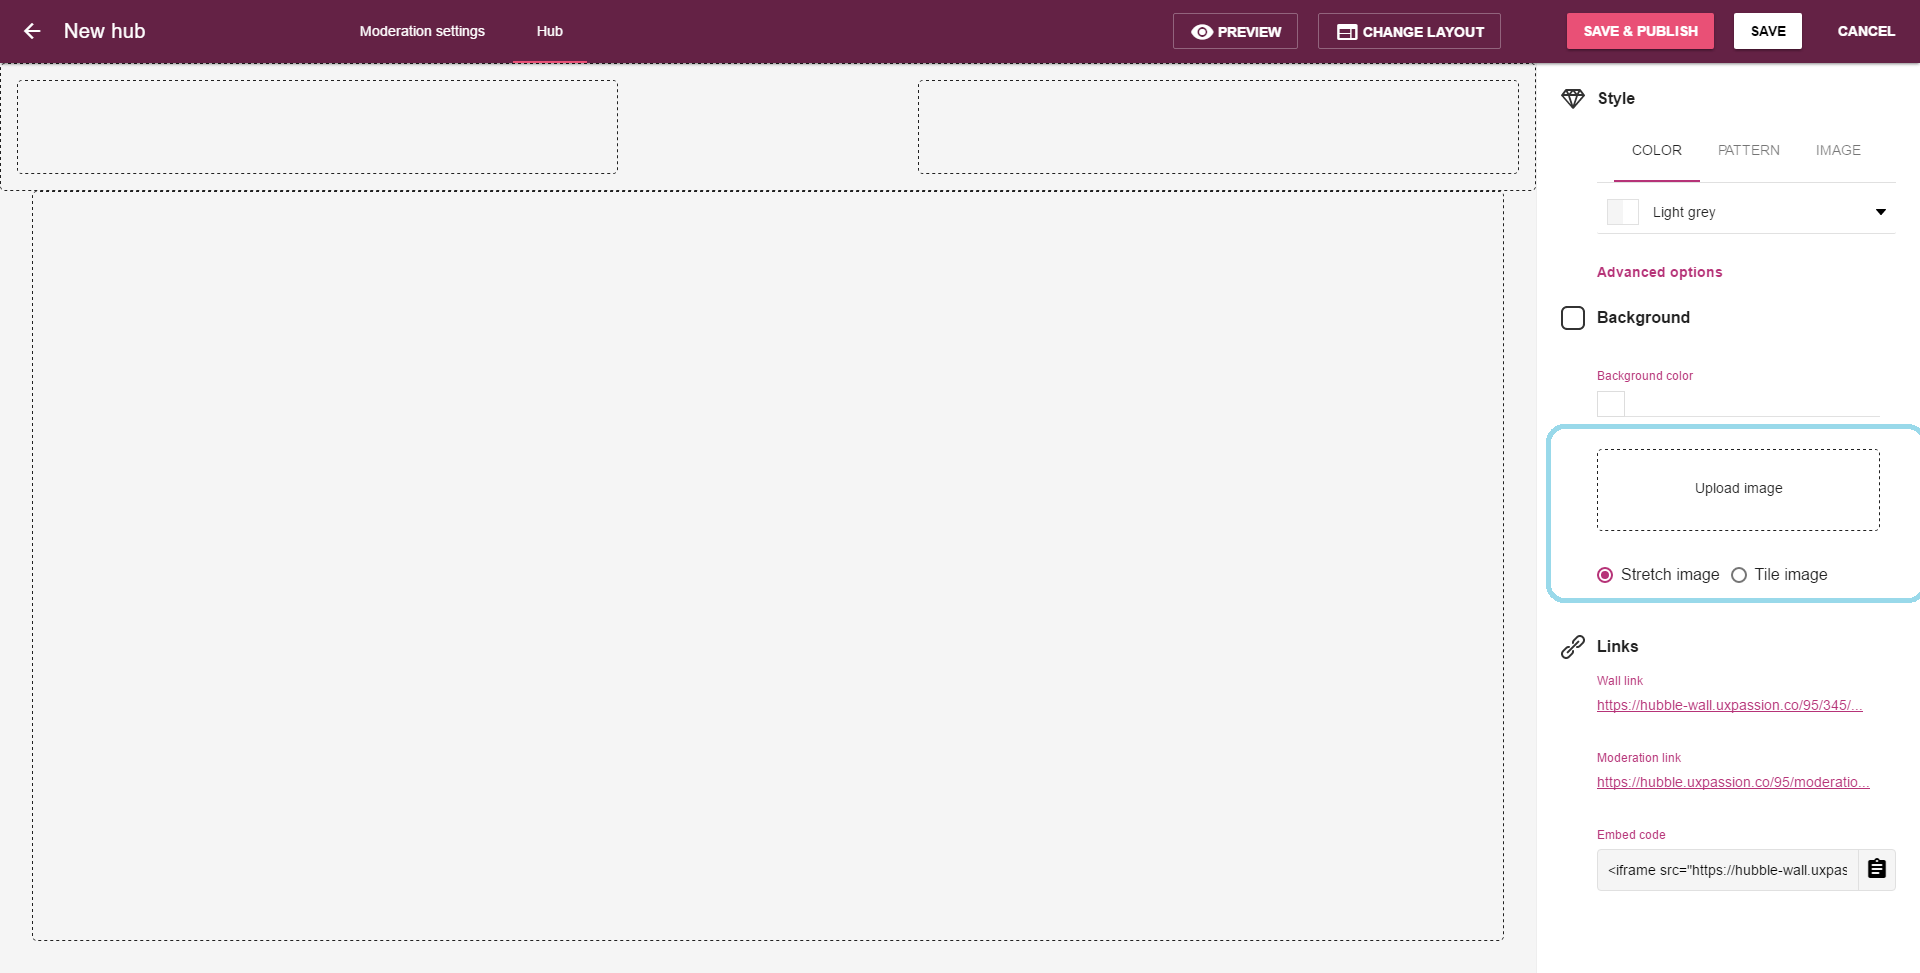
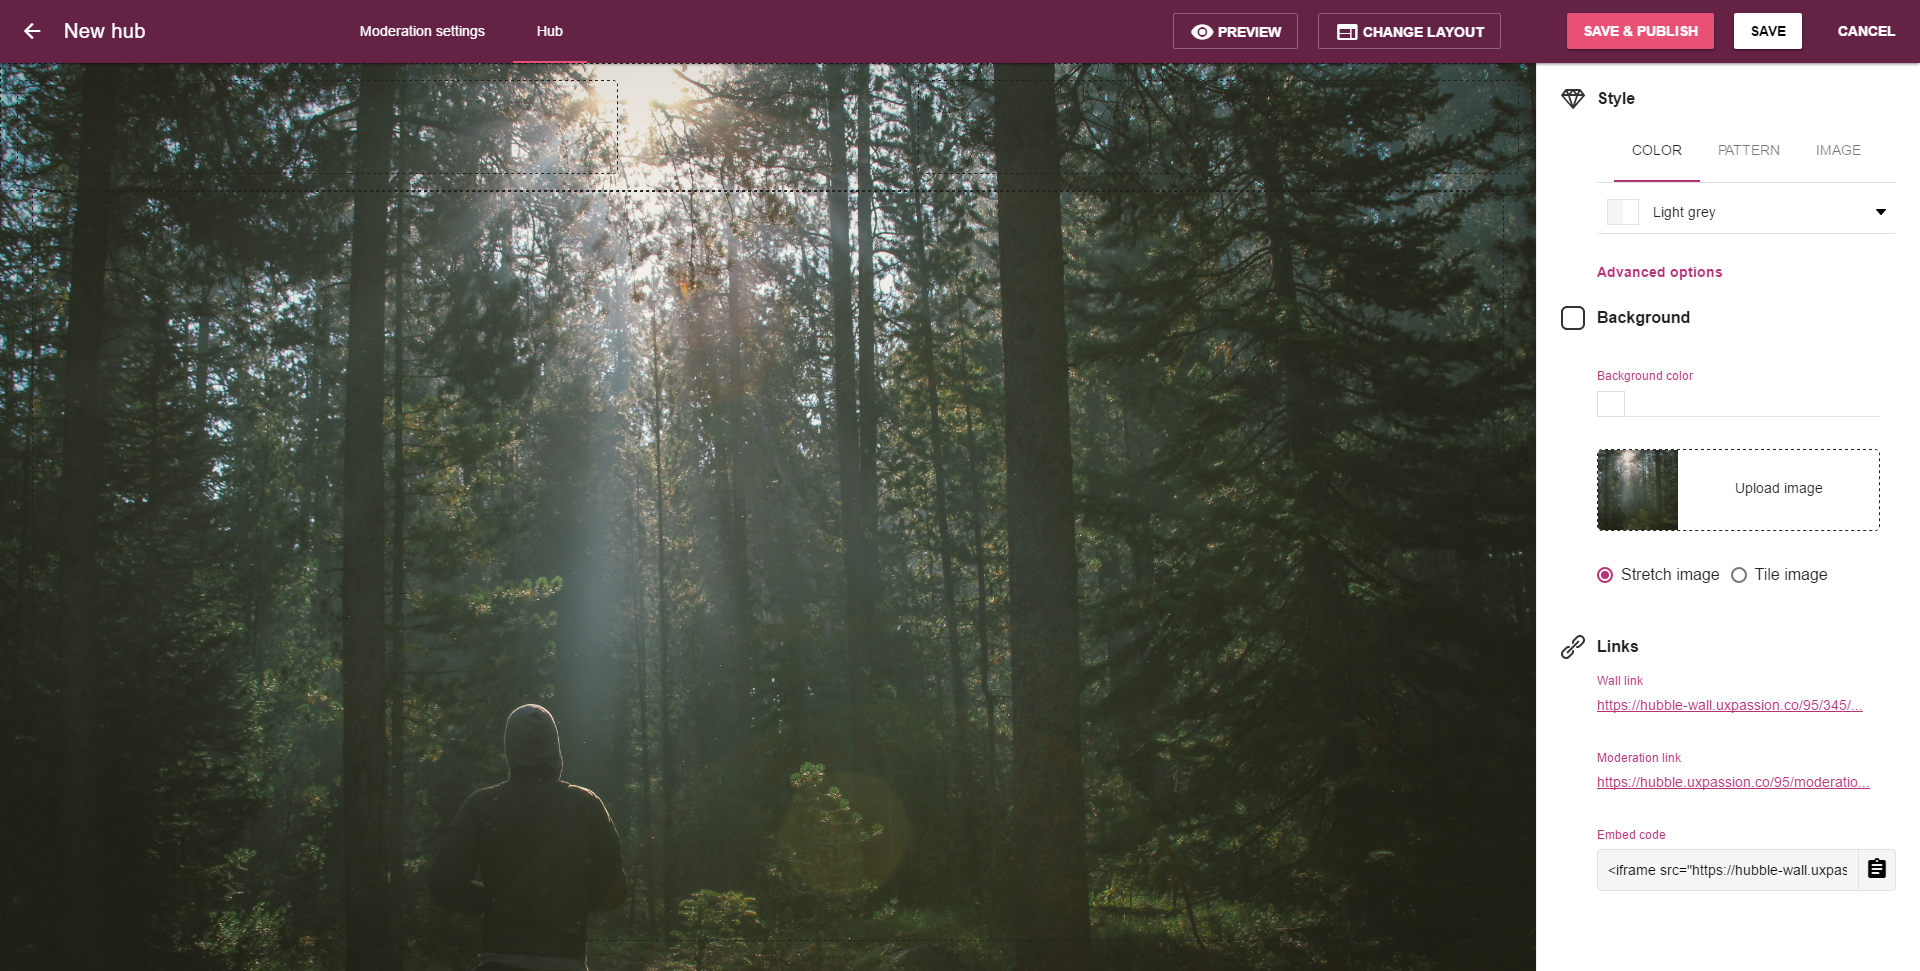
Step 2: Choose an image you would like to use as the background image for your hub and click “Open”. The image will be uploaded as your background image.
Step 3: To save your progress you can click on the “Save” button in the toolbar at the top of your screen – or you can continue further designing your hub.
Using premade colors, patterns, and images made by Wallery team
If you are in a rush or prefer to leave color matching to the pros, you are in luck! Our team of skilled designers provided you with color combinations, patterns and beautiful images you can use to create your hubs. They are all built into Wallery Designer and available to all Free, Paid and Premium users.
Color backgrounds
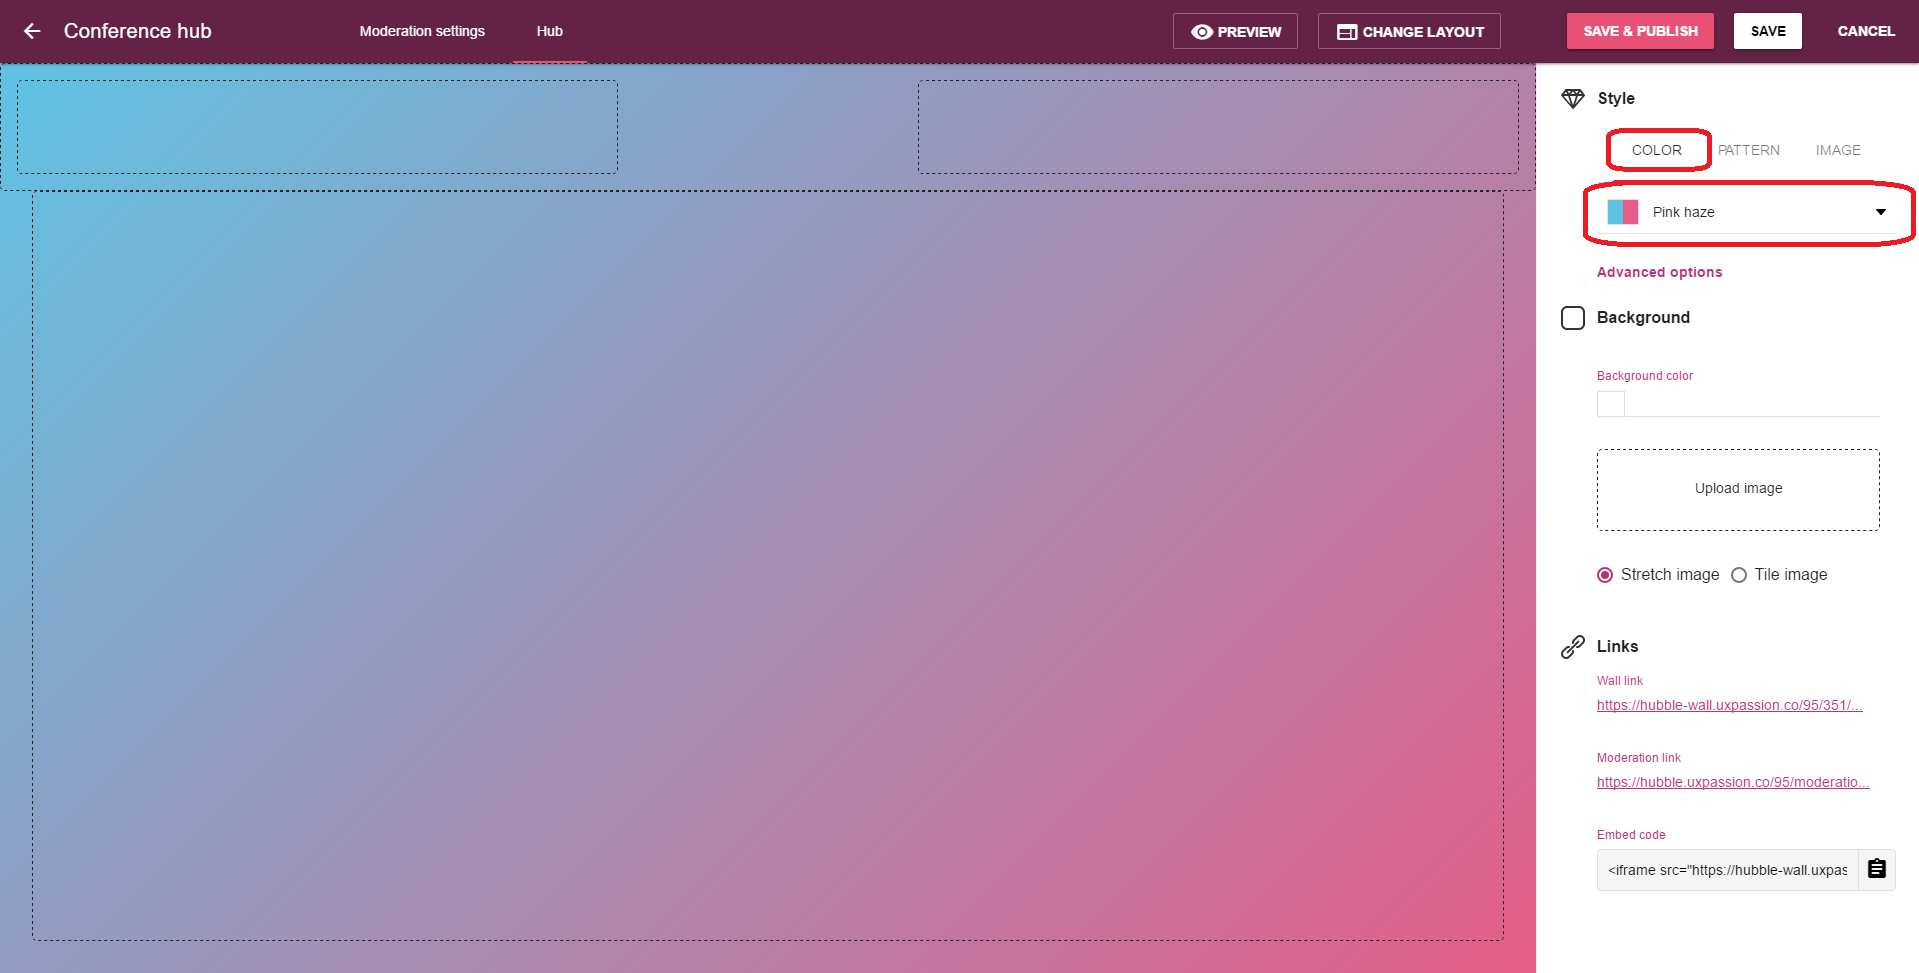
Step 1: In Wallery Designer, click on the “Color” tab in the sidebar.
Step 2: Click on the “Light grey” color combo to access the drop-down menu showcasing all of the available background colors.
Step 3: Choose a color you feel best fits with the theme of the hub you are creating. We’ve provided you with many options, ranging from subtle and simple to lively and colorful!
Step 4: At this point, you can choose to save your progress by clicking the “Save” button in the toolbar at the top-right of your Wallery Designer screen, or continue designing your hub.
Pattern backgrounds
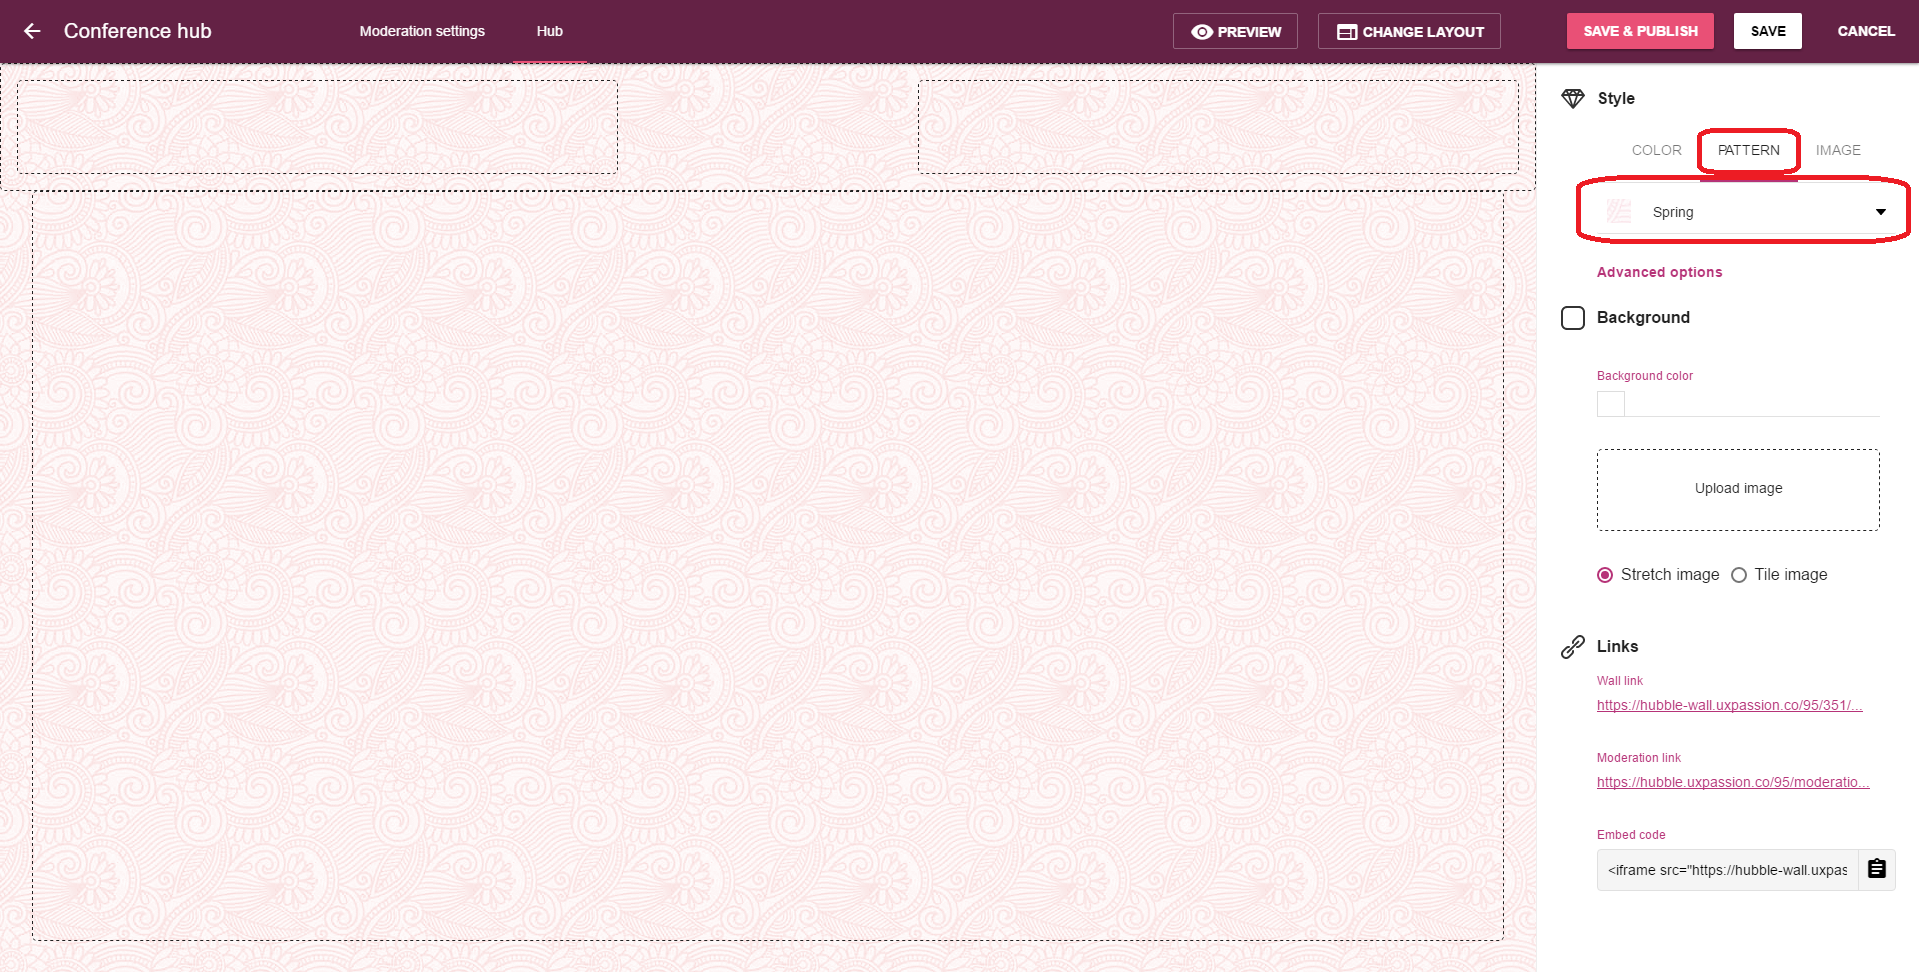
Step 1: Switch to the “Pattern” tab.
Step 2: Choose a pattern that best fits your event or website.
Step 3: You can now choose to save your progress by clicking the “Save” button in the toolbar at the top-right of your Wallery Designer screen, or continue designing your hub.
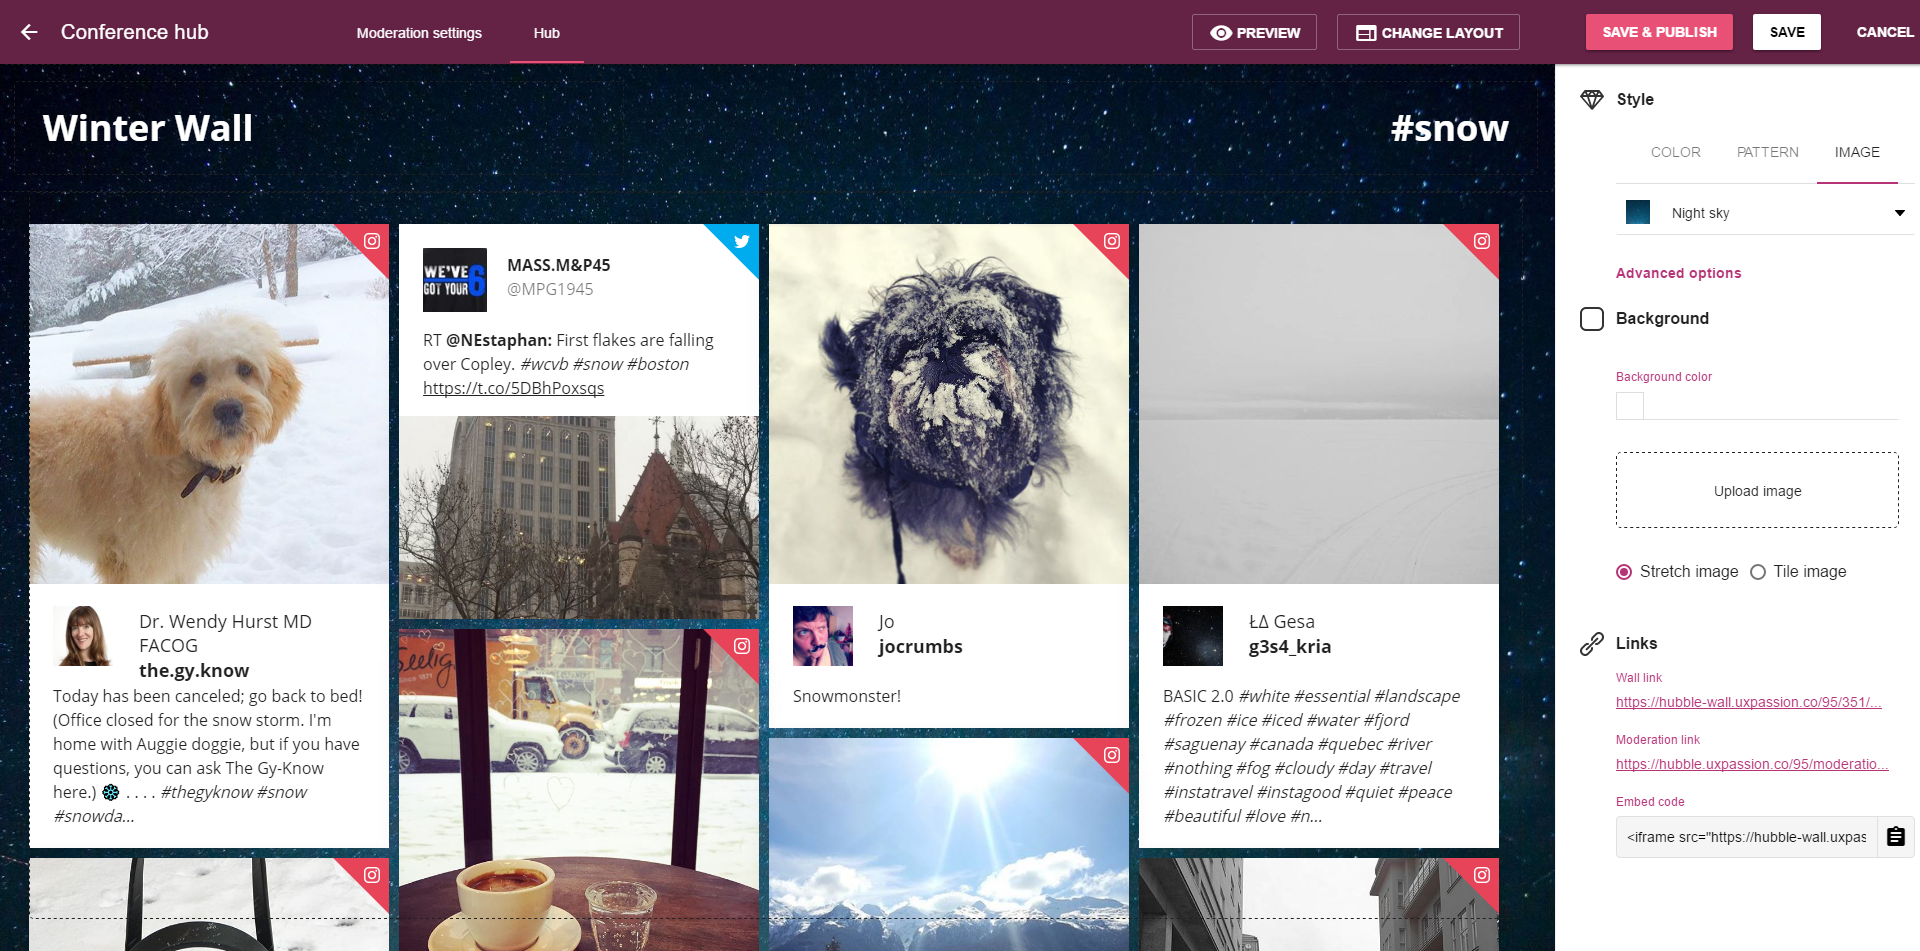
Image backgrounds

Step 1: Switch to the “Image” tab.
Step 2: Choose an image that best fits the theme of your event or website.
Step 3: You can now choose to save your progress by clicking the “Save” button in the toolbar at the top-right of your Wallery Designer screen, or continue designing your hub.
Adding text and/or a logo to your wall
In case you’d like to add some text to your social media wall, we’ve got you covered!
Adding a title to your wall makes it easier for your guests to know that exactly you want them to talk about, and by also displaying a hashtag you picked to monitor the social media channels you are making their job a lot easier!
You can add text or your logo to your social media wall or a hub, and you can even display both! It’s up to you.
Adding text to your social media wall
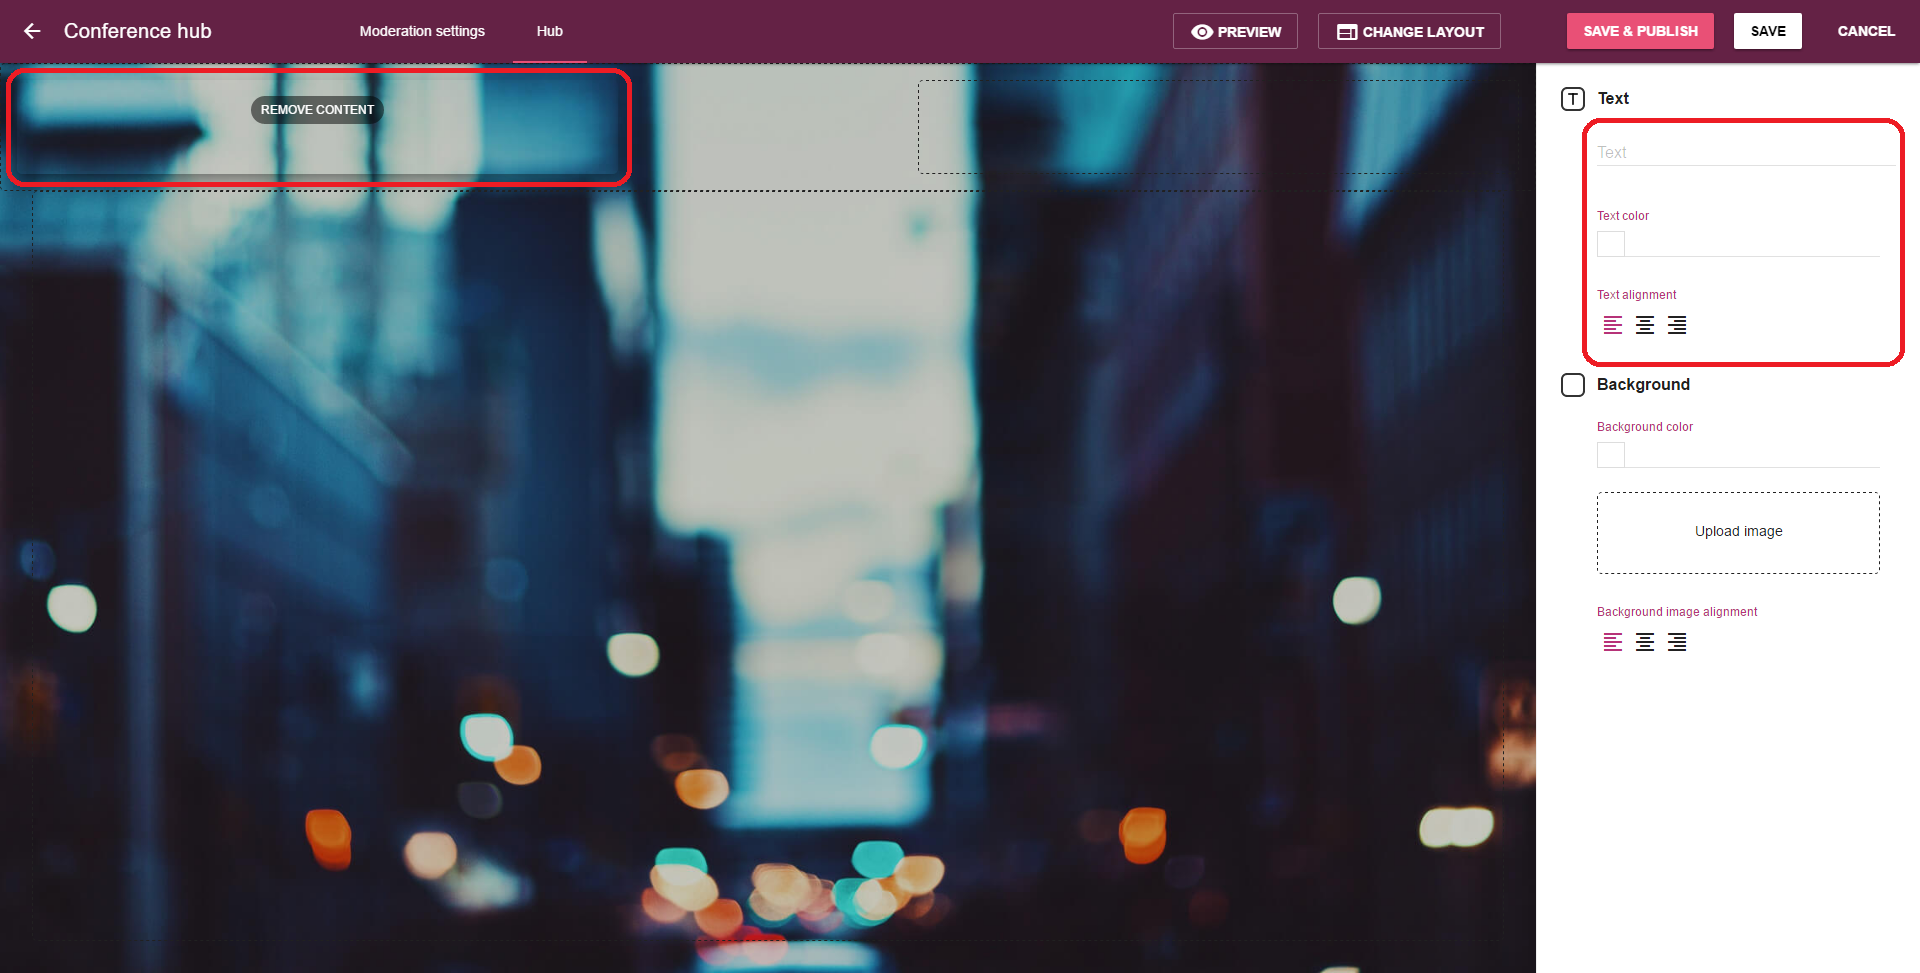
Step 1: Click on the area circled in red in the above screen shot. It’s in the upper-left corner of your Wallery Designer.
Step 2: After clicking it, you will see your sidebar change to look like in the screen shot above.
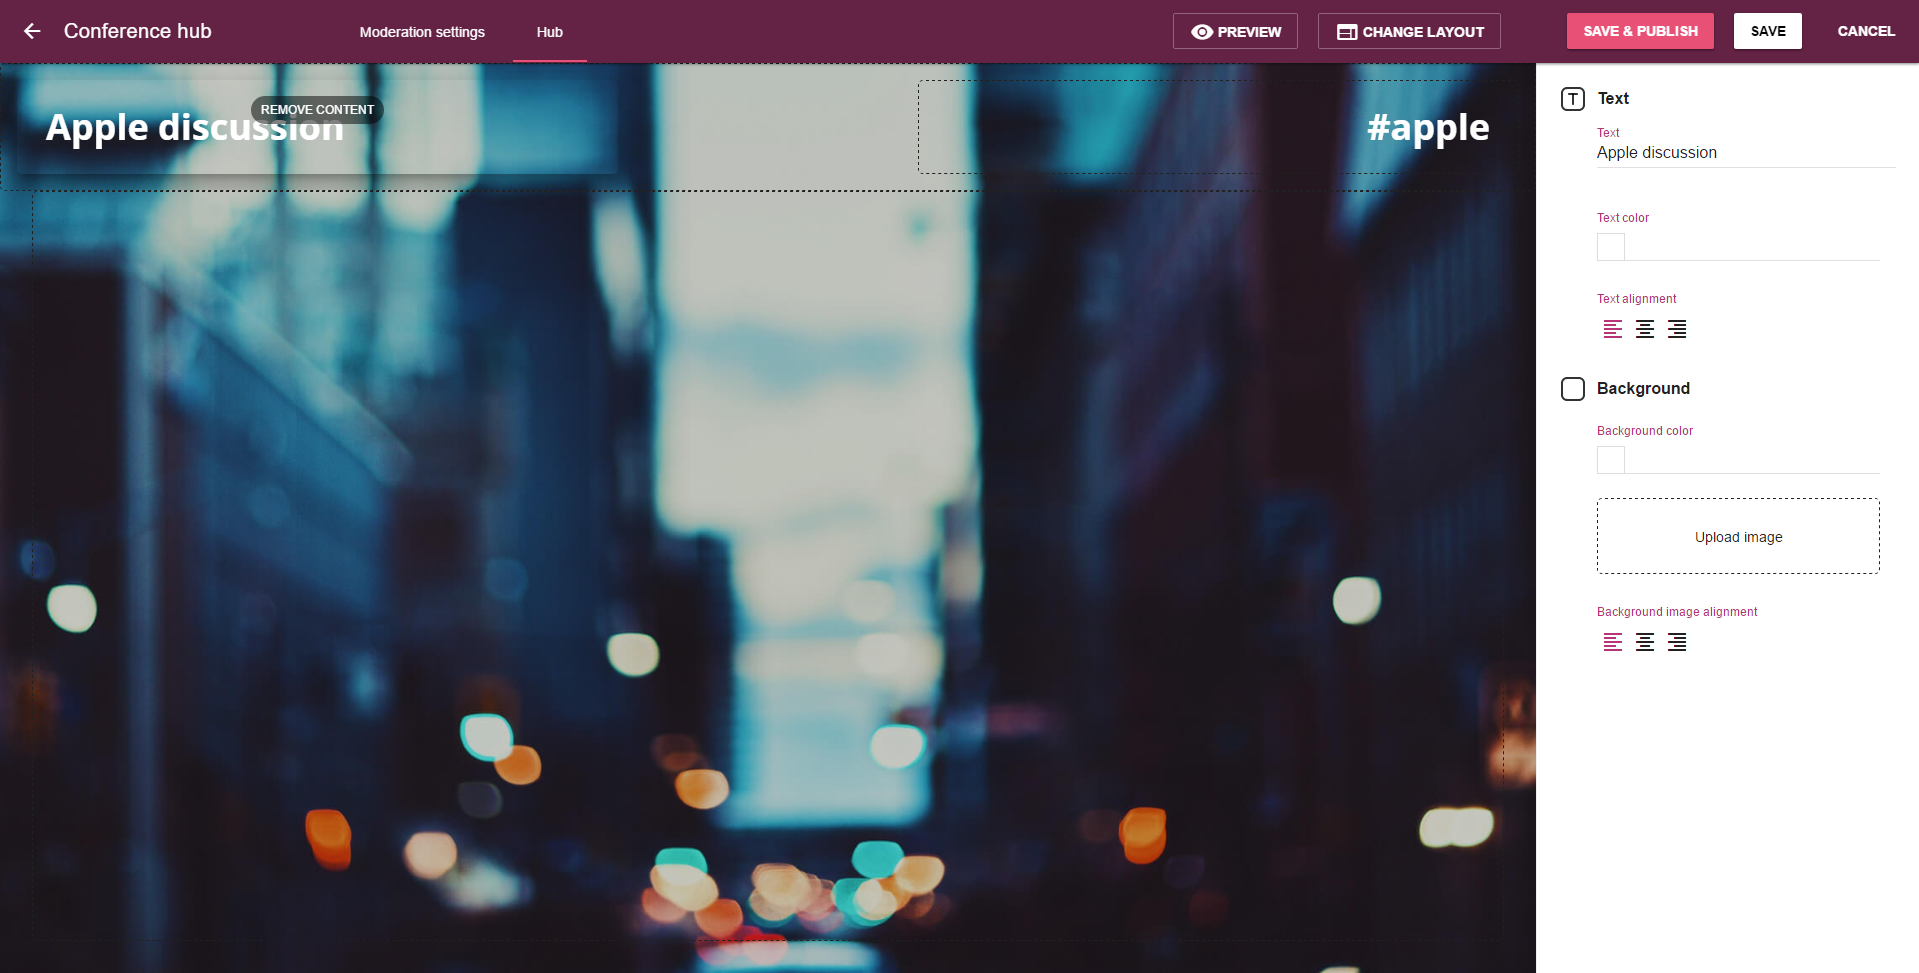
Step 3: Input the text you want to display on your social media wall and hit “Enter”.
Step 4: Repeat the same process for the empty field on the right side of the wall header. We suggest you write down the event hashtag here, in order to let your event participants know which hashtag they need to use in order to have their social media posts featured on your wall.
Adding a logo to your social media wall
![]()
Step 1: Click on either of the two fields at the header of your social media wall.
Step 2: In the sidebar, click on the “Upload image” field, circled red in the above screen shot.
Step 3: Upload the logo you wish to display on the wall from your computer.
Step 4: Click on the “Save” button in the upper-right corner of your screen.
Pro tip: For best results, make sure your logo is 92px high! The Wallery logo in the above sample is 92×92 px.
Selecting content: Hashtags, lists and more
Once you’ve finished designing the look of your social media hub, it’s time to decide which content Wallery will display on your wall.
You can do that straight from Wallery Designer!
Selecting content with hashtags
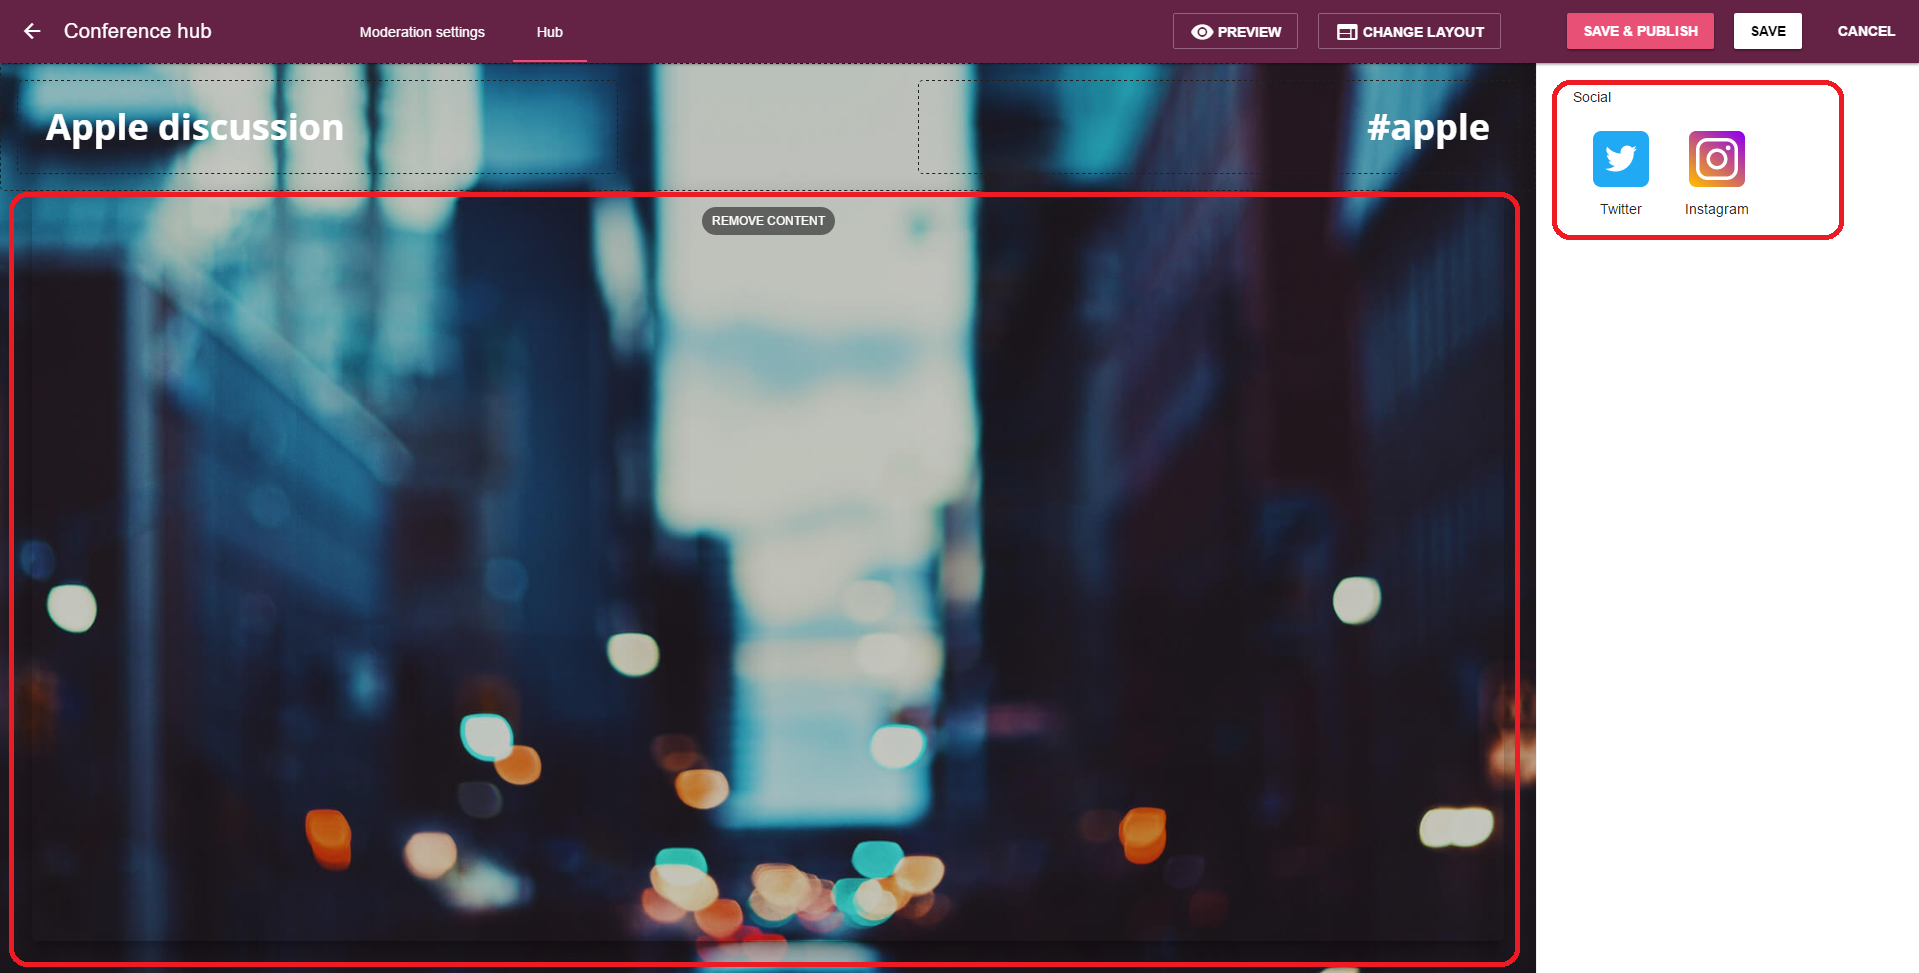
Step 1: In your Wallery Designer, click anywhere in the main area circled red on the screenshot above.
Step 2: In the sidebar, choose which social media source you would like to collect the content from. For this walkthrough we will choose both Twitter and Facebook!
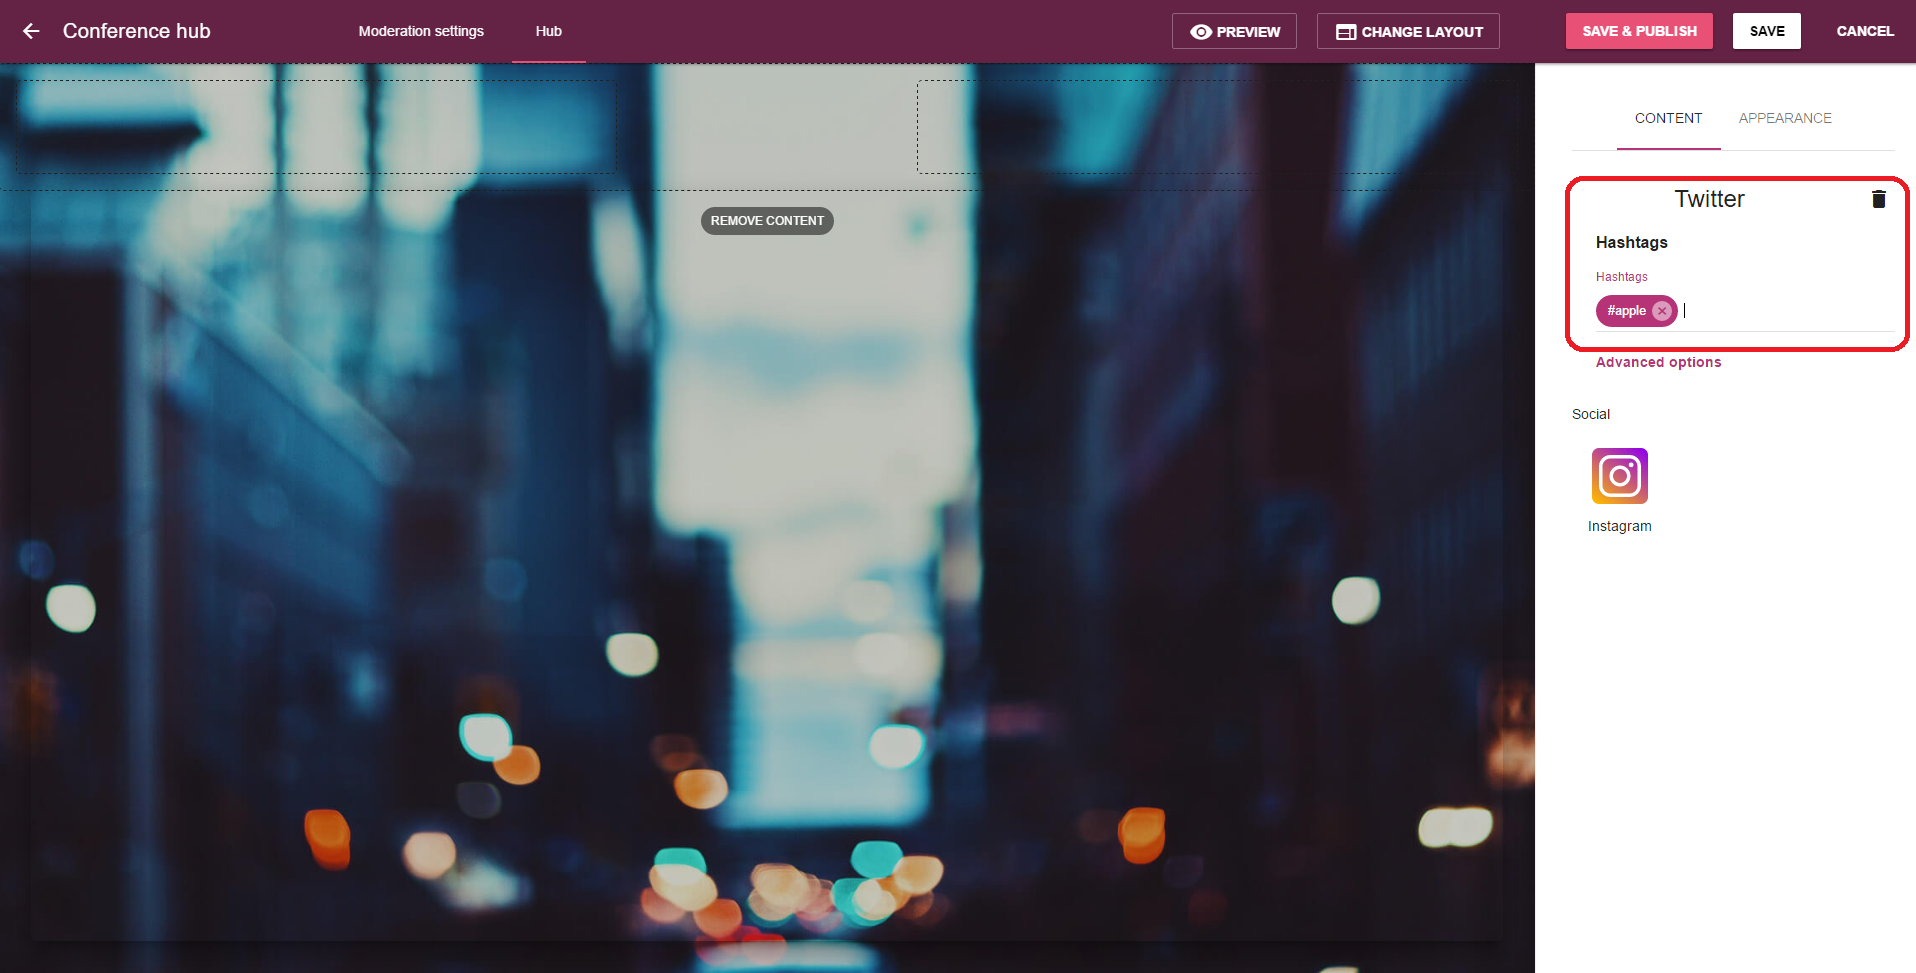
Step 3: Choose the hashtag (or a few) you would like to monitor on each social media and hit “Enter”.
Step 4: Click on the “Save” button in the upper right of your screen.
After you have completed this step, content should start rolling into your Wallery Dashboard.
You can now take your time to further customize the look and feel of your hub, or hit “Save & Publish” to go live with your creation.
Pro tip: Our “Save” and “Save & Publish” buttons are not the same! By hitting the “Save” button you are saving any changes you have made in Wallery Designer. After saving your progress you can leave the page and come back to continue editing where you have left off. “Save & Publish” saves all of your changes and also activates your hub. Any changes you have made after publishing will only be pushed onto the hub after clicking on the “Save & Publish” button again.
Displaying your hubs
Wallery was created to be a tool that will let you create a social media aggregator for any occasion. Depending on where you want it, Wallery can be projected on a wall, displayed on a DOOH screen or a jumbotron. But Wallery can do more. She can be embedded into your website, as well!
Our CEO likes to say, “If you can open Google on it, it can display our walls”.
All you need to display Wallery is a stable internet connection and a machine strong enough to load up Google.
Pro tip: Make sure your web browser is updated to the newest version. Wallery also runs best with Google Chrome, Mozilla Firefox, Opera or Microsoft Edge.